Installing Geo Server and PostGIS on AWS EC2 Instance
GeoServer and PostGIS provide open source geospatial stack for interactive and dynamic web GIS applications. Remotely360 we have developed quite a few applications where our data engineers needed to set up infrastructure on AWS cloud for geospatial applications. We want to thank Datalya machine learning consultants with some of the tasks. In the following, we are going to explain all the steps for the wider community.
a) Launching AWS EC2 Instance
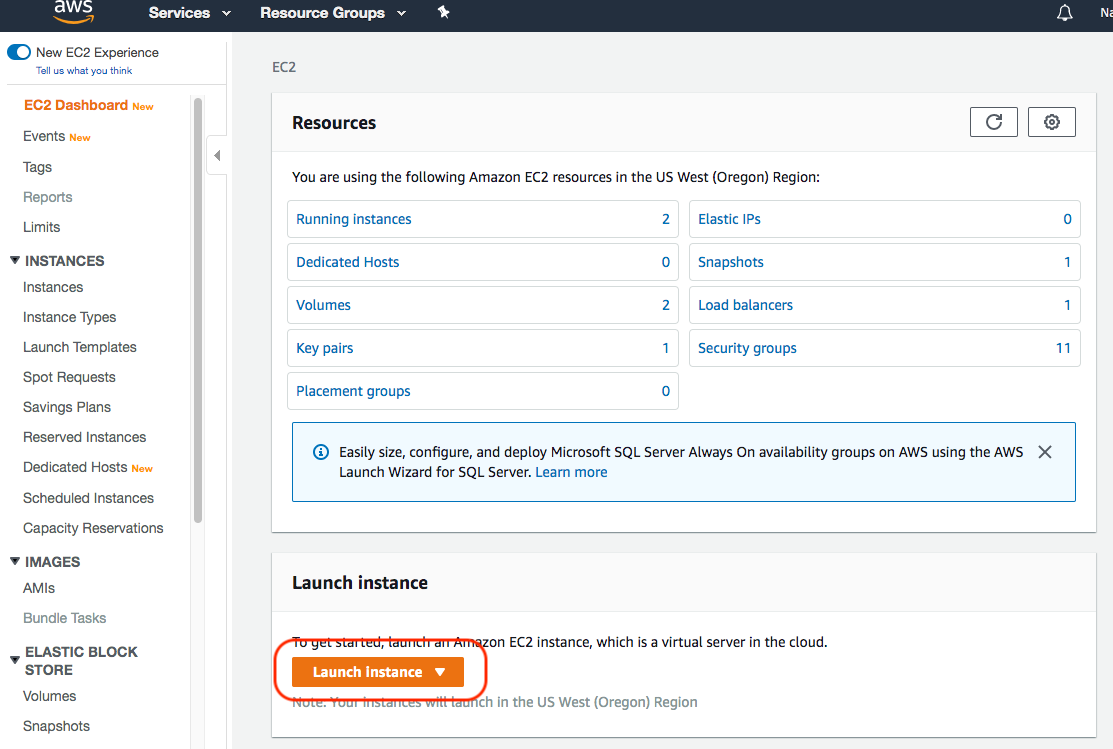
1. Start creating an AWS EC2 instance by hitting 'Launch Instance'
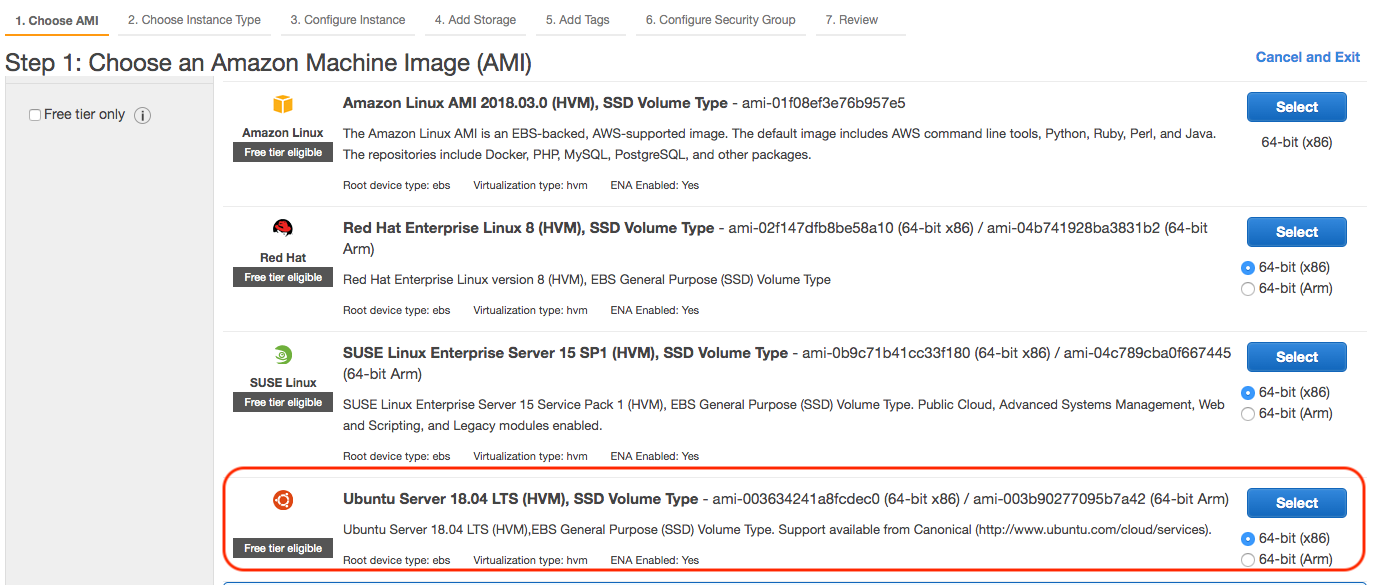
2a. Select 'free-tier' Linux instance and hit next
2b. Here select 'general purpose'
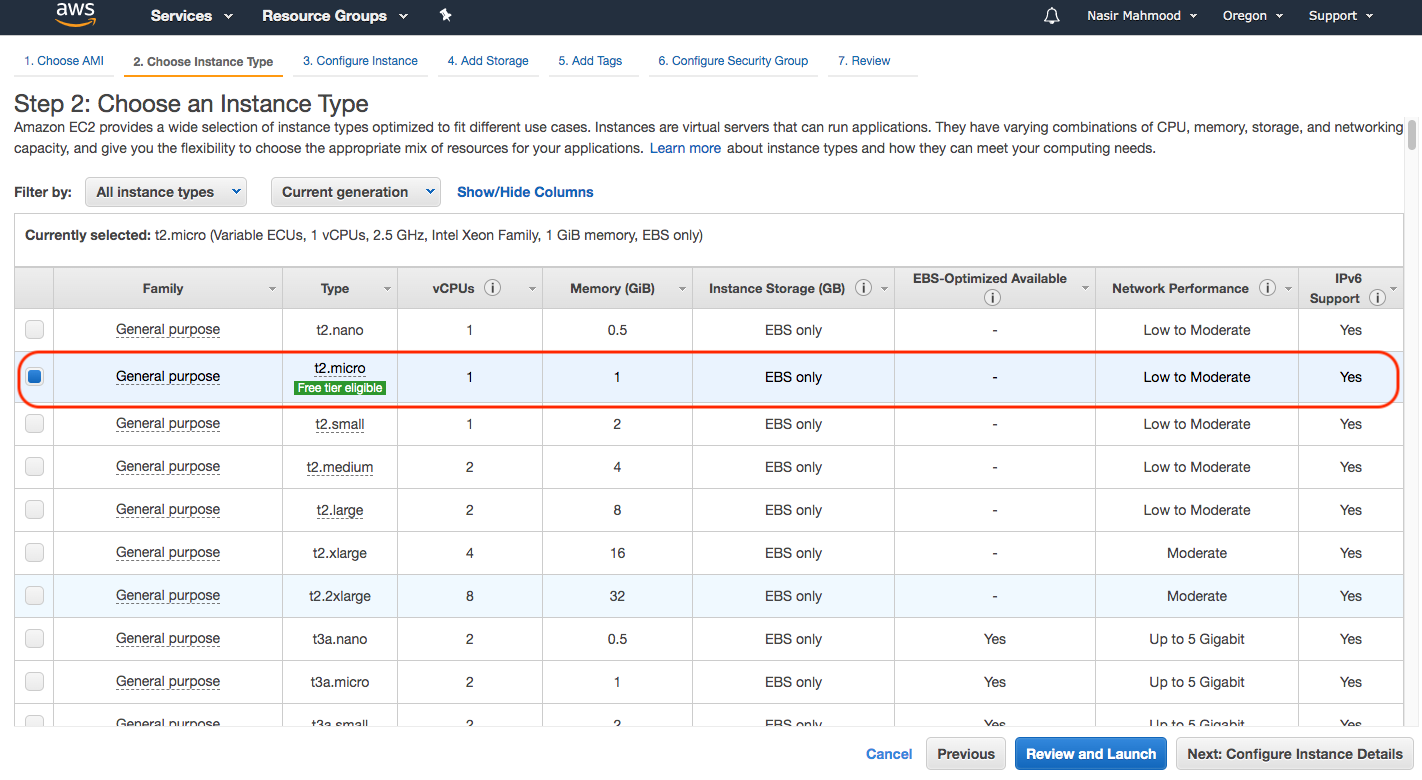
3. Accept the default configurations by clicking next
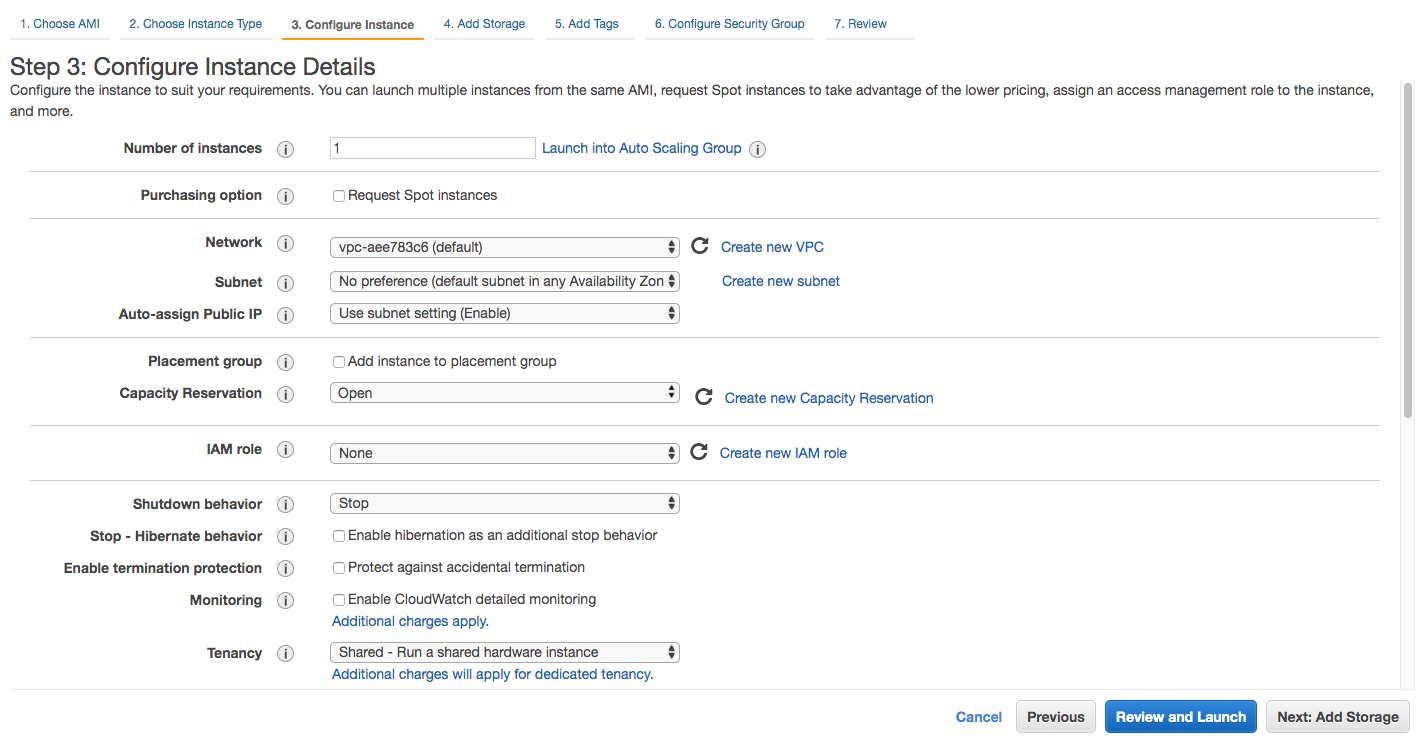
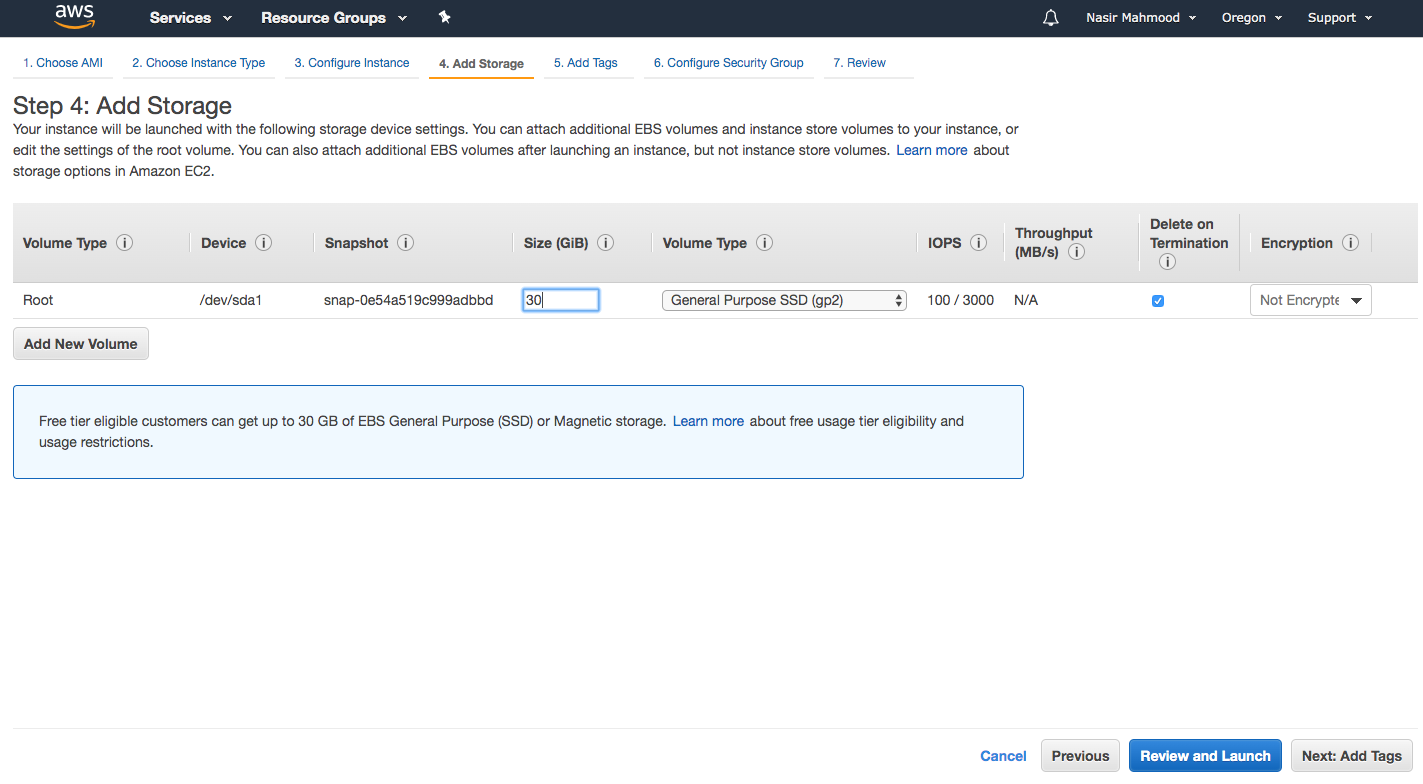
4. Increase EBS storage to 30GB
5. add tags
Just accept the default and move to next step.
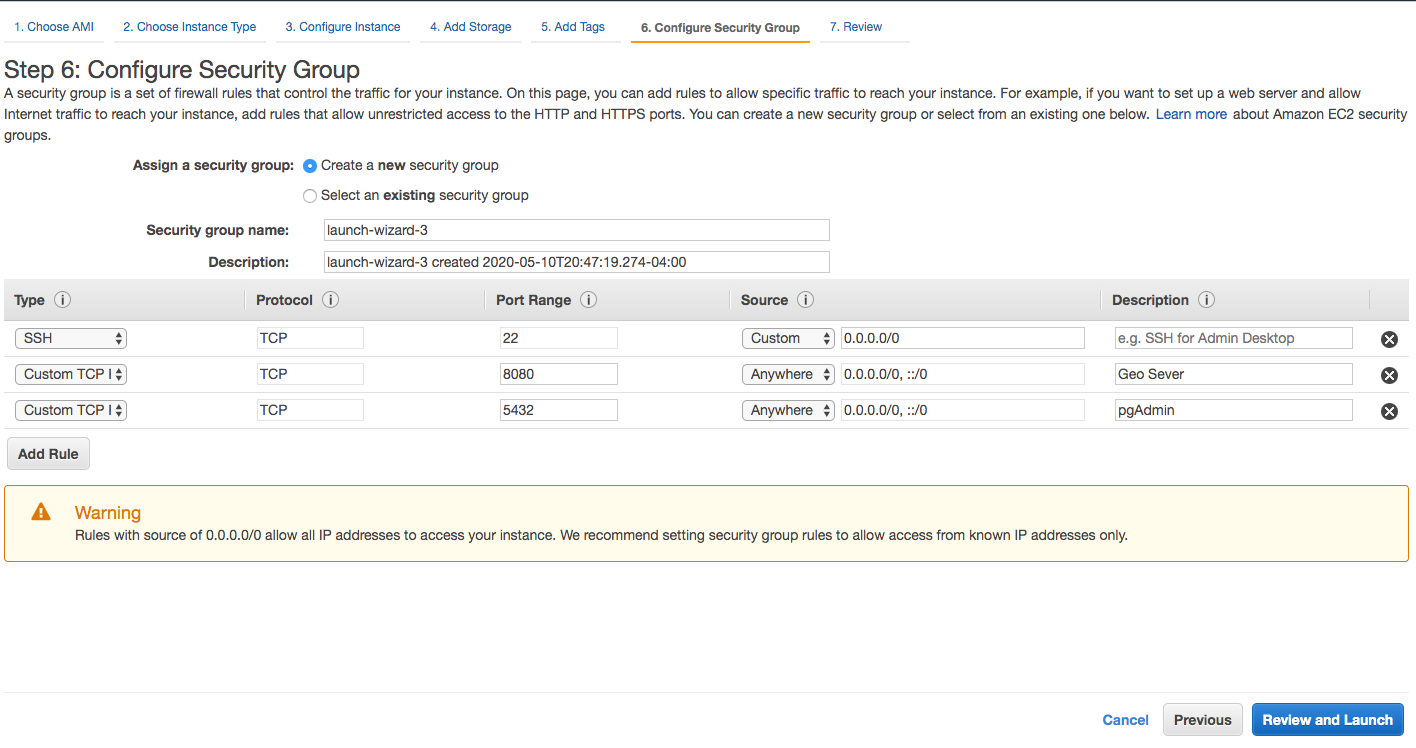
6. Add ports for GeoServer and pgAdmin as shown below, and then click 'Review and Launch'
Connecting to EC2 Instance
Click on the newly created ec2 instance, and then connect button. This will show you the command to log into the aws ec2 instance using key pair associated with the instance.

After logging into the server, first, install the upgrades using the following commands:
sudo apt-get update
sudo apt-get upgrade
b) Installing Tomcat
Install Tomcat application by running the following commands:
sudo apt-get install openjdk-8-jre
sudo apt-get install tomcat8
c) Installing GeoServer
Install GeoServer by running the following commands:
sudo mkdir Downloads
cd /Downloads
sudo wget http://sourceforge.net/projects/geoserver/files/GeoServer/2.17.0/geoserver-2.17.0-war.zip
sudo apt-get install unzip
sudo unzip geoserver-2.17.0-war.zip
sudo mv geoserver.war /var/lib/tomcat8/webapps/
cd /var/lib/tomcat8/webapps/
sudo service tomcat8 restart
Access geo server:
http://[URL of EC2 Server]:8080/geoserver/web/
The default user: 'admin' and password: 'geoserver'.
Once you are logged in, it will show a link for password change. YOU MUST CHANGE THE DEFAULT PASSWORD to keep your server secured and safe.
d) Installing Postgres and PostGIS
Next we will install Postgres and PostGIS with the following commands:
sudo apt update
sudo apt-get install postgis
Now we will set user password and enable PostGIS
-
Switch to postgres user:
sudo -i -u postgres -
Activate psql command line interface:
psql -
Change postgres password:
\password postgres
ENTER PASSWORD -
Now create PostGIS extension:
CREATE EXTENSION postgis; -
For pgAdmin client connection from the local machine to Postgres, on the server, you must update /etc/postgresql/10/main/postgresql.conf by replacing
listen_addresses=‘localhost’
with
listen_addresses=‘’ * - Also, we need to insert the following line
host all all all md5
into the file /etc/postgresql/10/main/pg_hba.conf
e) Connect to Postgress through pgAdmin
- Download and install pgAmdin on your local machine
- Connect to Postgres using server URL and postgres credentials (user and password) we create in step (d).

